Body-work
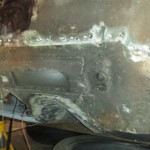
The damage cover sills hide
The idea is to repair any lurking or hidden rust on the car and bring it’s structural strength back to original. Once I started digging around the car I was shocked as to what was hiding. Here is what was under the Mini’s cover sills.
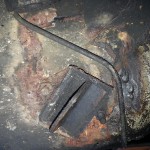
The mini’s Companion bin
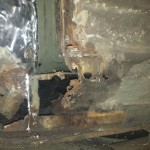
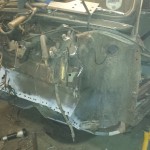
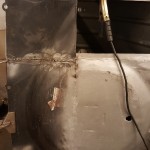
As can be seen below. the passengers side read companion bin in the Mini had some rust on the rear bottom edge. It would be pointless to replace the floor that it joins like this, as it would promote the spread of rust straight away. the only thing to do is more cutting and fabricate in replacement good clean metal.
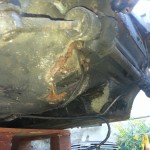
Mini floor and sills
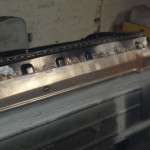
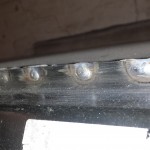
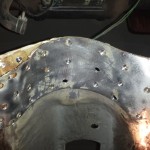
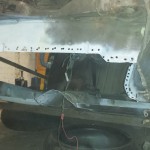
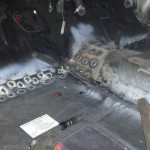
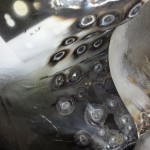
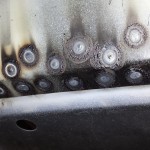
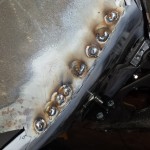
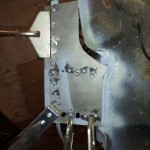
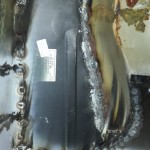
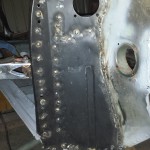
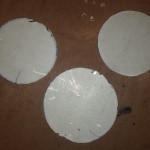
The method of welding the sill on was plug welding. the outer sill had many 8mm holes drilled in the required weld position. then its offered up to the car and welded through the 8mm holes and fills the 8mm circumference. See the example below.
Mini Heel panel replacement
The next thing I knew would need doing is the Mini’s heel panel. this is the panel that sits under the rear seats at the back of the floor. This is a structural panel that the rear subframe bolt to. I knew it would need repairs as when I tried to undo the subframe bolts, the just snapped the captive nuts attached to the heel panel. with a bit of a wiggle, the subframe just feel out. I cant get over the fact that this Mini was on the roar about 1 year ago, with a supposed MOT.
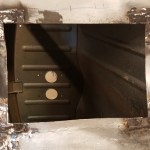
Here is the heel panel corrosion at the mount points.
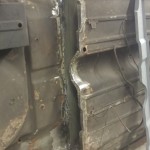
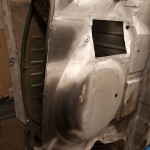
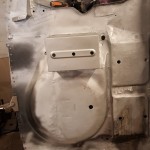
Here is the floor with heel panel removed. Many hours of spot welds being drilled out and this is the result.
trial fitment of new
As I mentioned earlier, there are a lot of spot welds to remove in order to take a Mini shell apart. There are a few ways of doing this.
- Hammer and chisel. I am not keen on this method as it causes a lot of distortion and will need considerable straightening after.
- Grinding. Using an angle grinder works well but does put considerable heat into the panels and can distort things.
- Drill the out using a specialised cutting drill.
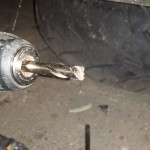
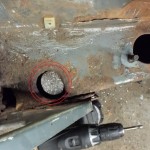
My preferred method is to drill the spot welds using a spot weld drill, as seen below. Spot welds are easy to see, especially after cleaning the panel back with a wire brush. They normally look like a 5-7mm slight indentation on the join.
Mini toe panel removal and replacement
Unfortunately the toe panel was slightly buckled from the cars fendor bendor. I was considering just clug hammering if flay again but would never have been happy with the result. So in with a new panel we go after hours of drilling those pesky spot welds out
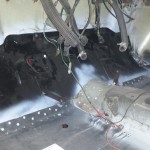
Here the toe panel is offered into its position and the subframe is bolted to the crossmember and new panel to check and keep it aligned.
Mini Crossmember and spreader
Now its time to attack the spreader plate on the end of the front crossmember bulkhead. this area is always a big trap for water, and hence rust. the reasons for this are the fact there are multiple layers of steel here with little to no corrosion prevention between the layers. This area is also driectly inline with road spray from the tyres. I hope to improve the resistance to the start of rust by using a zinc based primer between the layers and also sealing the edges with an over paintable automotive grade sealant before painting.
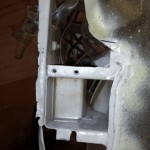
This is the bare end of the bulkhead cross member, cleaned up and with a coat of etch zinc weld through primer.
Mini Nearside inner wing and A-post repair.
Next up is to fit the inner wing repair panel. Unfortunately I cannot fit this until the subframe is in location, I will then fit the Mini front panel to the subframe and use that as a reference point to fit the inner wing.
Now the toe board is in, I need to start attacking the inner wings.
Mini offside inner wing and A-post repair.
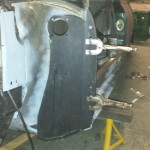
Next is the Off side inner wing / A post / door flitch repair. I ground the old panel off as it was too badly gone. Bolted the repair panel in situ using the door hinge holes. Then the join to be seam welded was scribed onto the old panel. This gives me the line to cut, so that the new panel will meet old perfectly. then all the plug weld holes were drilled out that meet the A-post, dash rail, and A-post stiffener. All of the above was then coated in etch zinc primer ready for welding as below.
Mini Vents
As I have good access now to the Minis fresh air ventilation holes in the wings. I will tape the oppourtunity to block them up. These area are always a water trap and help the ingress of corrosion. I will lightly tape some covers in place and seal them with something like tiger seal to make sure they are watertight. The sould be easily removable in the future should I or a future owner feel the need to retro fir the vents.
OS boot floor and battery box
When i get home tonight I will start removing the off side boot floor pan. this has been patched many times in the past. I am looking forward to removing all the past bodges and welding in clean metal to clean metal with a good dollop of rust proofing in the form of kurust and a zinc based primer. this should slow the progression down. At least in the near future.
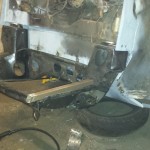
As you can see in the images below. I had already removed the rear valance and the valance closing panels, then started cutting the floor out brfore i remembered to take some pictures.
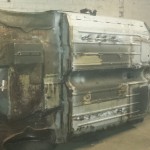
the nod has been rolled on to its side to get a proper look at the boot. It also helps with access for cutting, grinding and welding
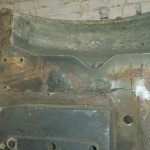
closer shot of the problem area. Wheel arch, battery box and subframe mounting points all in a bad way
No that I have removed the battery box and Off-side boot floor panel, I can crack on with the repair of all surrounding affected melal. I need to start with the rear of the rear quarter section. A common problem area for all Minis.
Then It was time to attack the rear of the Mini’s rear wheel arch. This is a structural part of the chassis where the rear subframe anchors to the boot floor. This had been repaired in the past and to a very poor standard
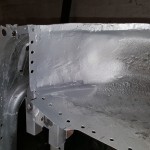
rpeair section welded in place, then welds ground down and painted in a zinc based etch primer to prevent more rust
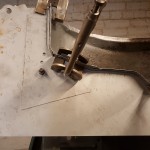
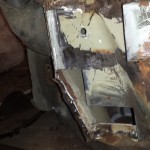
Mini boot repair section clamped in place ready for welding
N
Now the mini shell is on it’s belly again. I will start the inner wing repairs before re-fitting the front panels.
The top edge of the Near side inner wing needed some attention as did the lower part, near the suspension rubber cones.
Next is the Off side inner wing. I hope to get the done this weekend and crack on with fitting A-panels, Wings and the front panel.


Good post! I read your blog often and you always post excellent content. I posted this article on Facebook and my followers like it. Thanks for writing this!
Hi I am looking to repair the boot floor and rear valance both sides of the boot will need new panels and the boot floor at the hing panel will need a replacement panel and I am fitting a new valance do you have any picture and advice that may help me on my way. I do not intend to remove sub frame